Understanding Color Checkers and Their Application in DaVinci Resolve

Introduction
A color checker is vital for videographers and cinematographers, ensuring accurate color reproduction in post-production. DaVinci Resolve, a powerful video editing and colorgrading software can leverage color checkers to enhance color consistency and precision. Let's delve into what a color checker is and how it can be effectively utilized in DaVinci Resolve.
What is a Color Checker?
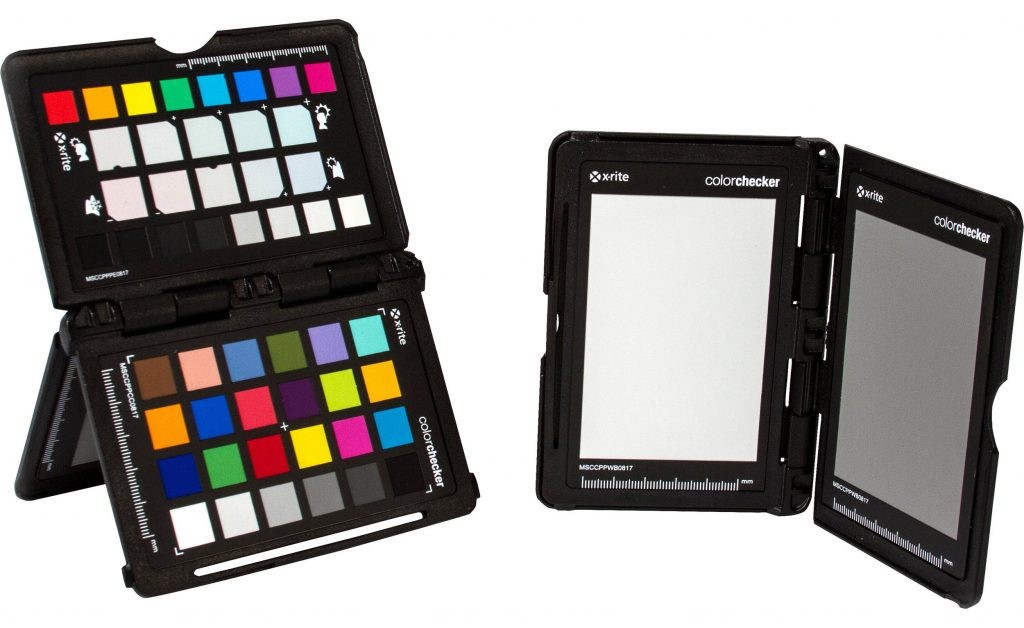
A color checker is a calibration chart featuring a standardized set of colors, often arranged in a grid. This chart serves as a reference for capturing accurate colors during the filming process. Each color square on the checker represents a specific color with known RGB values. Commonly used color checkers include the X-Rite ColorChecker and DatacolorSpyderCHECKR.
How to Use a Color Checker in DaVinci Resolve:
1. Capture Reference Image:
Begin by placing the color checker in the scene and capturing a reference image during the shoot. Ensure the lighting conditions match those of your intended production.

2. Import Footage into DaVinci Resolve:
Import your footage into DaVinci Resolve and navigate to the Color page.

3. Add Color Checker Node:
In the Color page, add a new node by right-clicking and selecting "Add Node" or pressing Alt+S. This node will be dedicated to color correction using the color checker.
4. Apply Corrections:
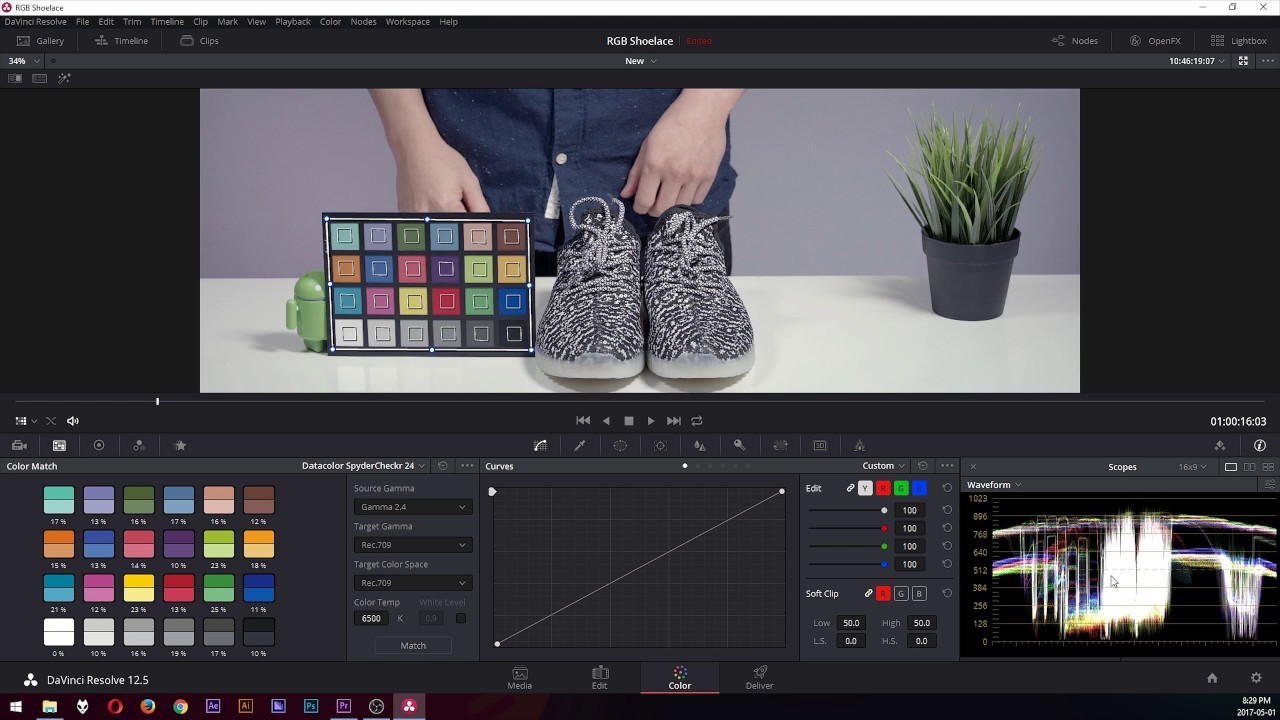
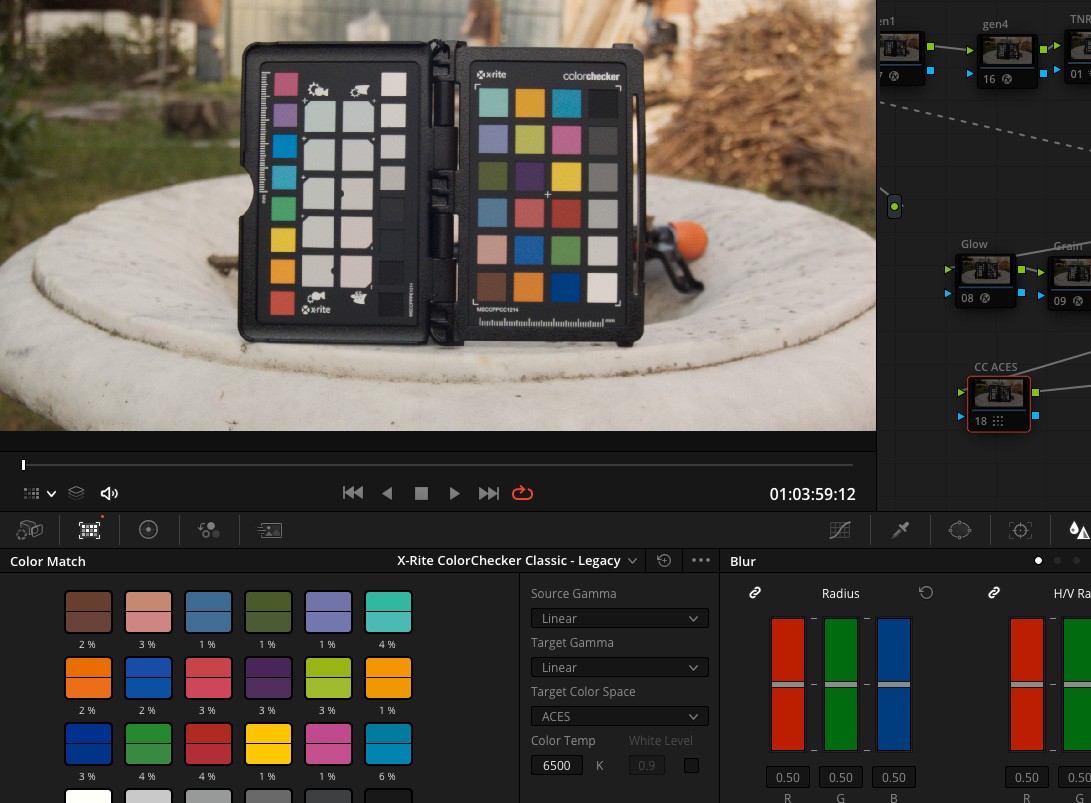
Use the Color Match function in DaVinci Resolve to automatically correct the colors based on the reference image. This can be found in the Color page's toolbar, represented by a color chart icon.
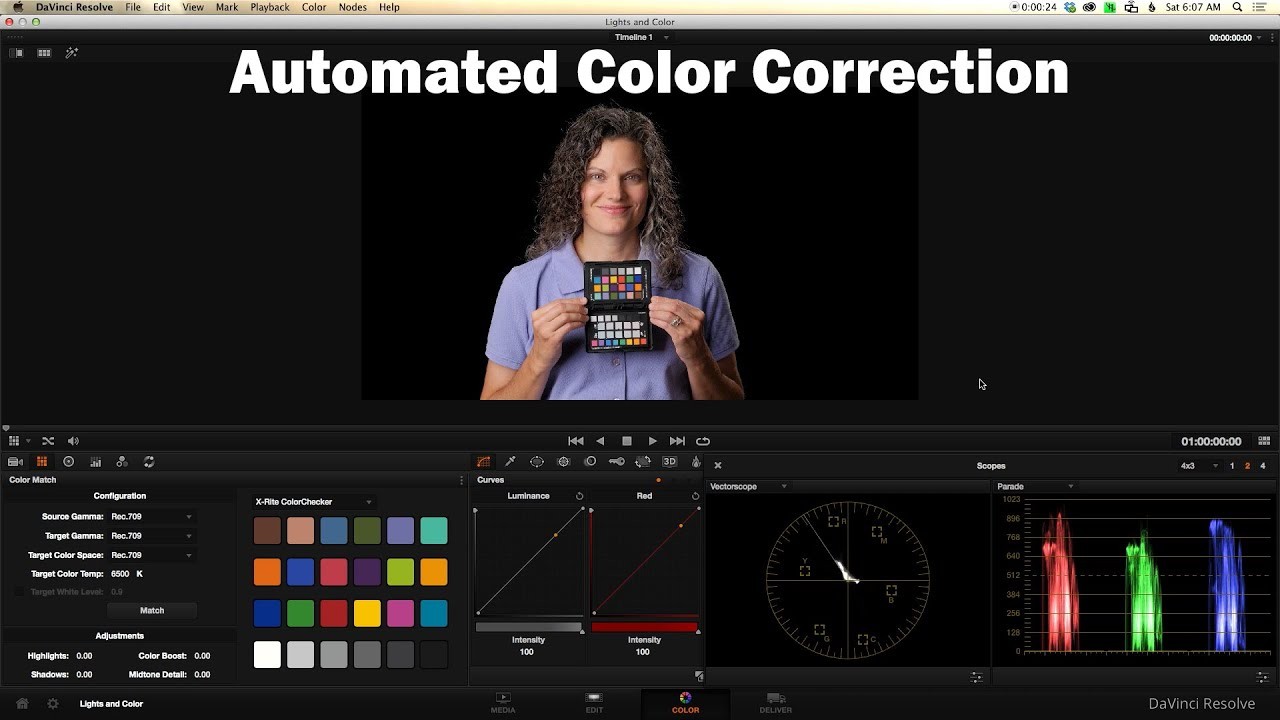
5. Select Color Checker Options:
Click on the Color Match icon and select the color checker type used (e.g., X-Rite ColorChecker). DaVinci Resolve will then analyze the reference image and correct your footage.
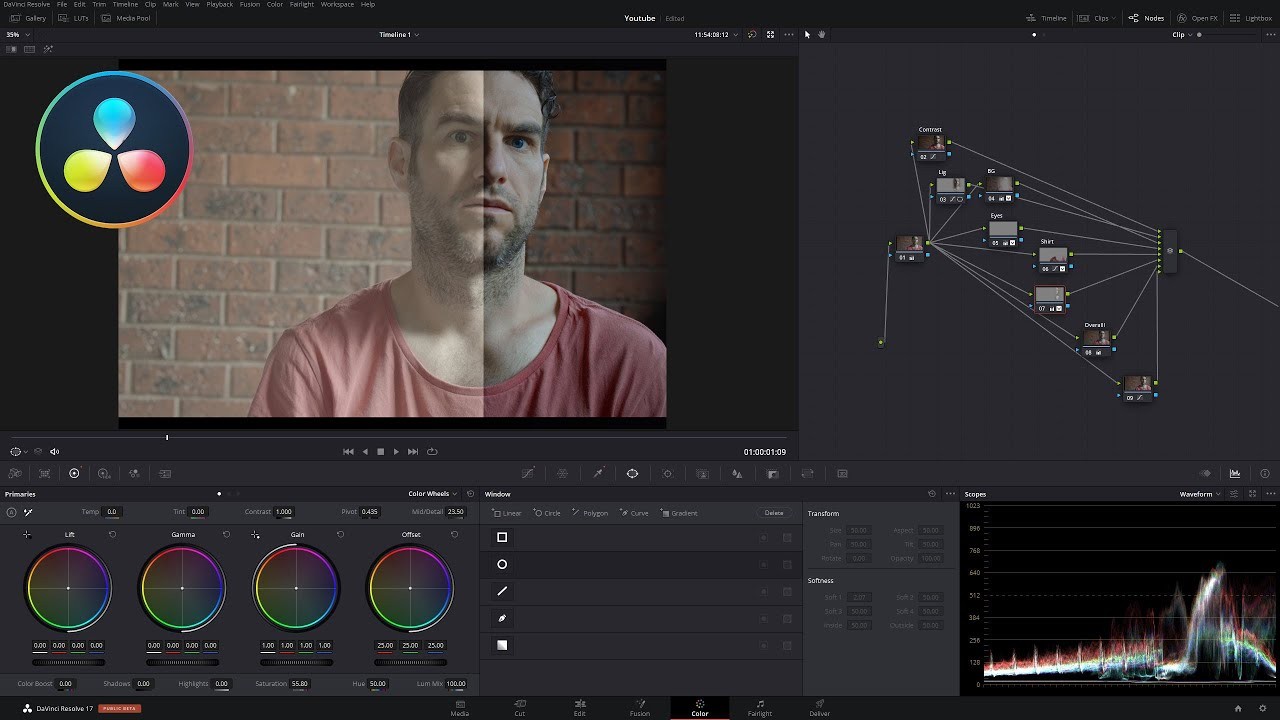
6. Fine-Tune Adjustments:
While the Color Match function provides a solid starting point, fine-tune the adjustments as needed. Use the color wheels, curves, and other grading tools to achieve the desired look.
7. Review and Iterate:
Review your footage and make further adjustments if necessary. Iterate through the process until you achieve optimal color accuracy and consistency.
Conclusion
A color checker is an invaluable tool for filmmakers seeking precise colour reproduction. By integrating it into DaVinci Resolve, users can streamline the colour correction process, resulting in professional and visually stunning final edits. Incorporating a color checker into your workflow ensures that the colors in your footage remain faithful to the intended vision, ultimately enhancing the overall quality of your production.